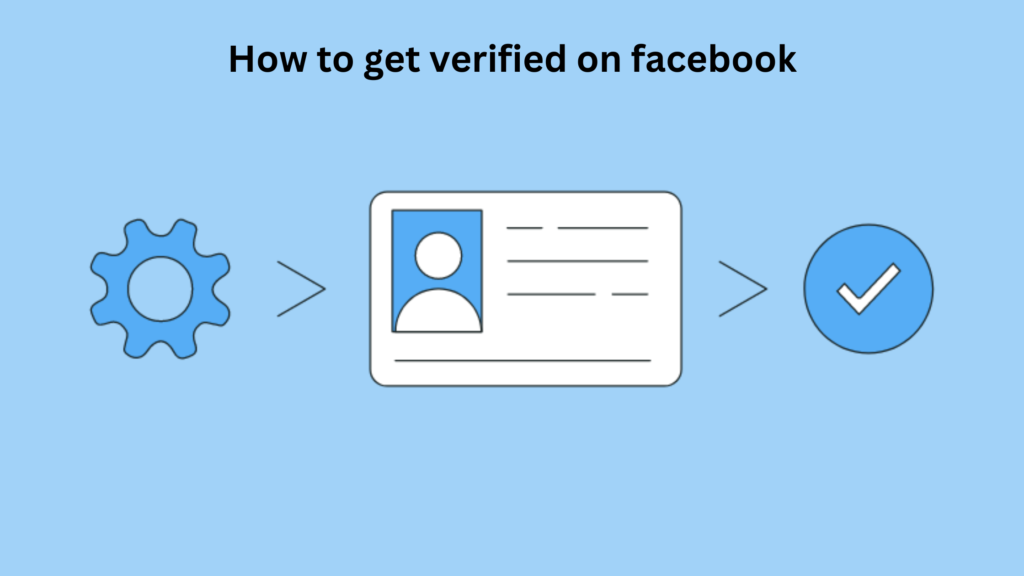
Facebook verification is a process that allows users to prove that they are who they say they are on the platform. Verified pages and profiles have a blue badge next to their name, which helps people easily identify them as authentic. In this article, we will provide you with a step-by-step guide on how to get verified on Facebook.
Step 1: Go to your Facebook profile and click on the three dots in the top right corner.
Step 2: Select “Settings & Privacy” and then “Settings.”
Step 3: Click on “Account Ownership and Control” and then “Page Verification.”
Step 4: Click on “Verify this Page” and enter your business or brand’s official phone number or document (example: business license, utility bill).
Step 5: Facebook will send a verification code to the phone number or email you provided. Enter the code to verify your page.
Step 6: Once your page is verified, a blue verification badge will appear on your page.
It is important to note that not all pages are eligible for verification. To be eligible, your page must meet the following criteria:
- The page must be active and in good standing
- The page should have a complete and up-to-date profile and cover photo
- The page should have a history of posting content
- The page should have a significant following
If you are unable to verify your page using a phone number or document, you can submit a request for verification through the verification form. Keep in mind that Facebook may take a few weeks to review your request.
In conclusion, getting verified on Facebook is a simple process that can help increase the visibility and credibility of your page. By following the steps outlined in this article, you can easily verify your page and gain the trust of your followers.
